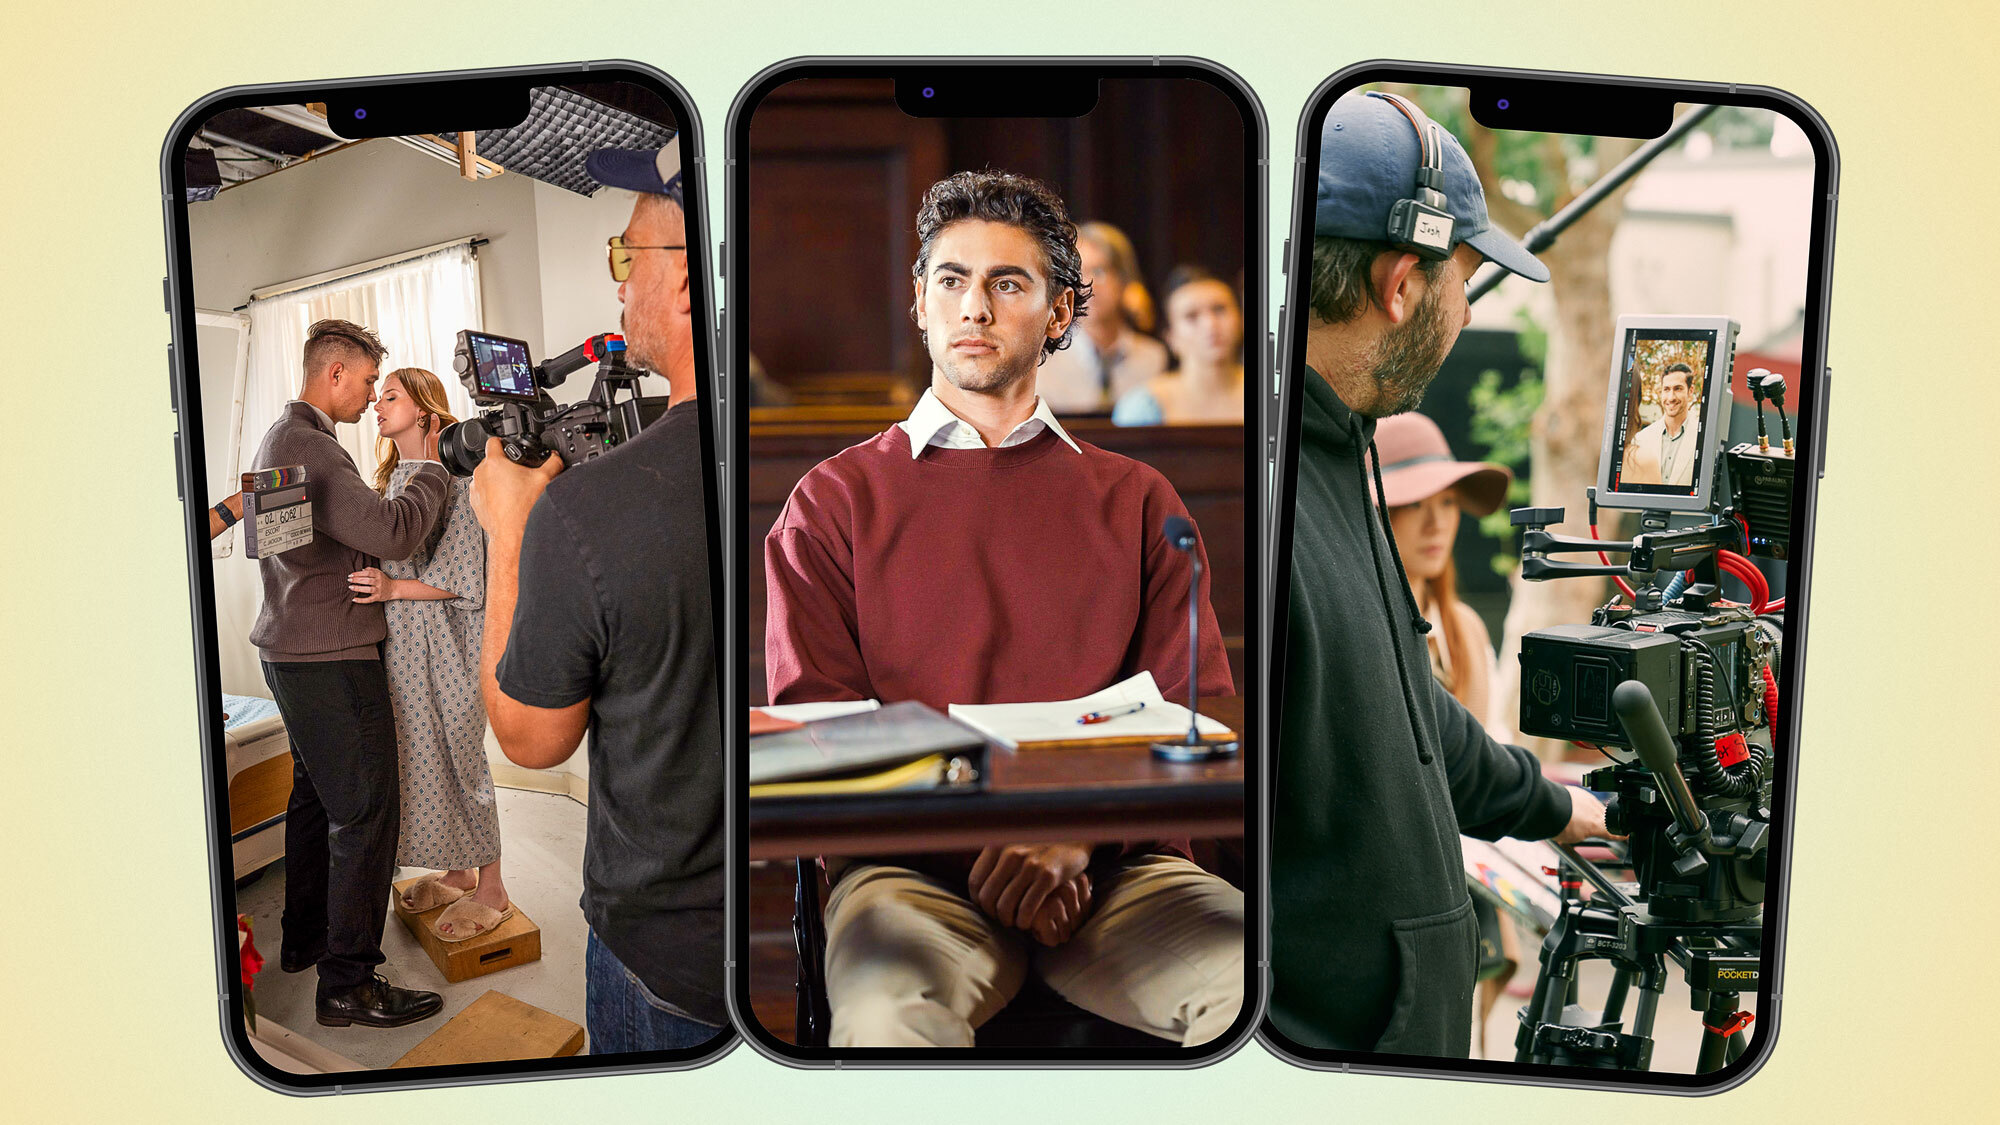
Interview lighting is one of the most fundamental skills in video production, yet it is also one of the most commonly done poorly. Whether you are shooting a corporate testimonial, a documentary interview, or a podcast, the same core principles apply. This guide walks through a reliable three-point lighting setup using equipment available at most rental houses.
The Three-Point Foundation
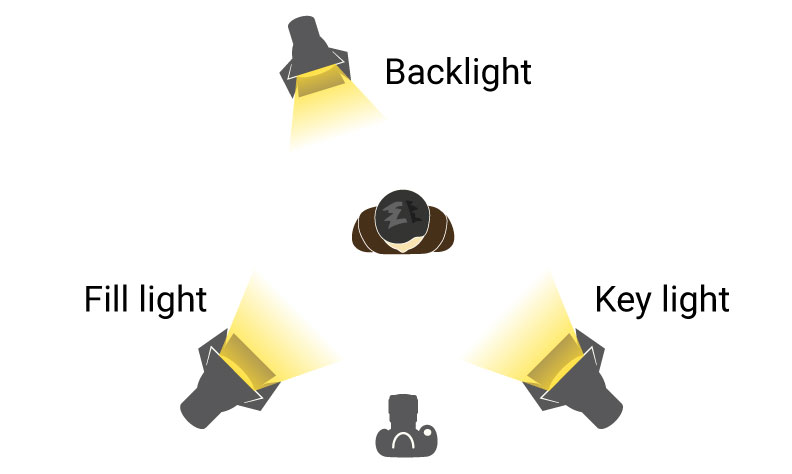
The three-point lighting system has been the standard for interview lighting since the early days of television, and it remains effective because it addresses the three fundamental challenges of lighting a face: illumination, dimension, and separation.
Key Light: Your primary light source, positioned approximately 30-45 degrees to one side of the camera and slightly above the subject's eye line. This creates the main illumination and establishes the direction of light in the scene. For interviews, a large soft source (such as an Aputure 600D through a Light Dome or a Nanlite Forza 500 with a softbox) produces flattering, even illumination.
Fill Light: Positioned on the opposite side of the key light, the fill reduces the contrast between the lit and shadow sides of the face. The fill should be softer and less intense than the key — typically 1-2 stops lower. A common approach is to use a smaller fixture (like a Nanlite Forza 300) through a diffusion panel, or simply bounce the key light off a white reflector.
Backlight (Hair Light): Positioned behind and above the subject, the backlight creates a subtle rim of light that separates the subject from the background. This adds depth and prevents the subject from appearing flat against the backdrop. An Aputure 300X or similar fixture with a grid works well for this purpose.
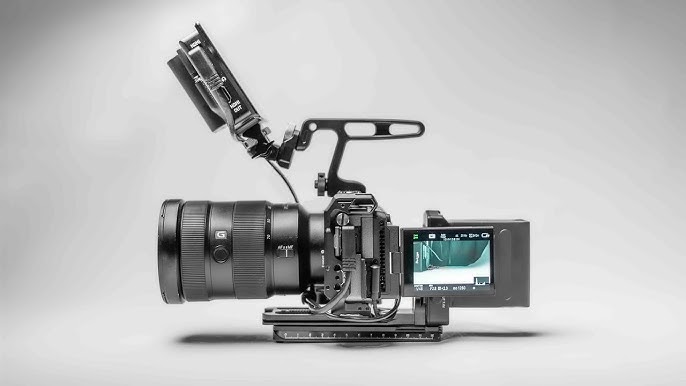
Equipment Recommendations
| Role | Recommended Fixture | Modifier |
|---|---|---|
| Key Light | Aputure 600D Pro or Nanlite Forza 500 | 4ft softbox or Light Dome |
| Fill Light | Nanlite Forza 300 or bounce board | Diffusion panel |
| Backlight | Aputure 300X or Nanlite Forza 150 | Grid or barn doors |
| Background | Nanlite PavoTube 30X (optional) | None |
Step-by-Step Setup
1. Position the subject first. Before touching any lights, decide where the subject will sit and where the camera will be. Consider the background — look for depth, texture, and visual interest. Avoid flat walls directly behind the subject.
2. Set the key light. Start with just the key light. Position it 30-45 degrees off-axis and slightly above eye level. Watch the shadow under the nose — it should fall at a slight downward angle, not straight down (which looks unflattering) or sideways (which creates an unnatural split).
3. Add the fill. With the key established, add fill on the opposite side. The goal is to reduce shadows without eliminating them entirely. Some shadow is desirable — it creates dimension. A common ratio is 2:1 or 3:1 (key to fill).
4. Add the backlight. Position the backlight behind and above the subject, aimed at the back of their head and shoulders. Use a grid or barn doors to prevent the light from spilling into the lens. The backlight should be subtle — visible as a gentle rim, not a bright halo.
5. Light the background. If the background looks flat or dark, add a small light aimed at the background. PavoTubes work well for this, as they can add a subtle color wash that creates visual interest without being distracting.
Recommended Grip Equipment
| Item | Purpose |
|---|---|
| C-stands with arms (minimum 4) | Positioning all lights |
| Sandbags | Safety on all stands |
| Flags or black fabric | Controlling spill |
Common Mistakes to Avoid
Overhead key light: Placing the key directly above the subject creates unflattering under-eye shadows. Keep it at a 30-45 degree angle.
No fill at all: Unless you are going for a deliberately dramatic look, some fill is almost always necessary. Even a simple bounce board makes a difference.
Backlight too bright: The backlight should be subtle — a gentle rim, not a glowing halo. If you can see it clearly in the monitor, it is probably too strong.
Ignoring the background: A well-lit subject against a flat, dark background looks like a news broadcast. Add depth with background lighting and practical elements.
All lighting equipment mentioned in this guide is available for rental at Chill Rental. Contact us at [email protected] for package pricing and recommendations.